

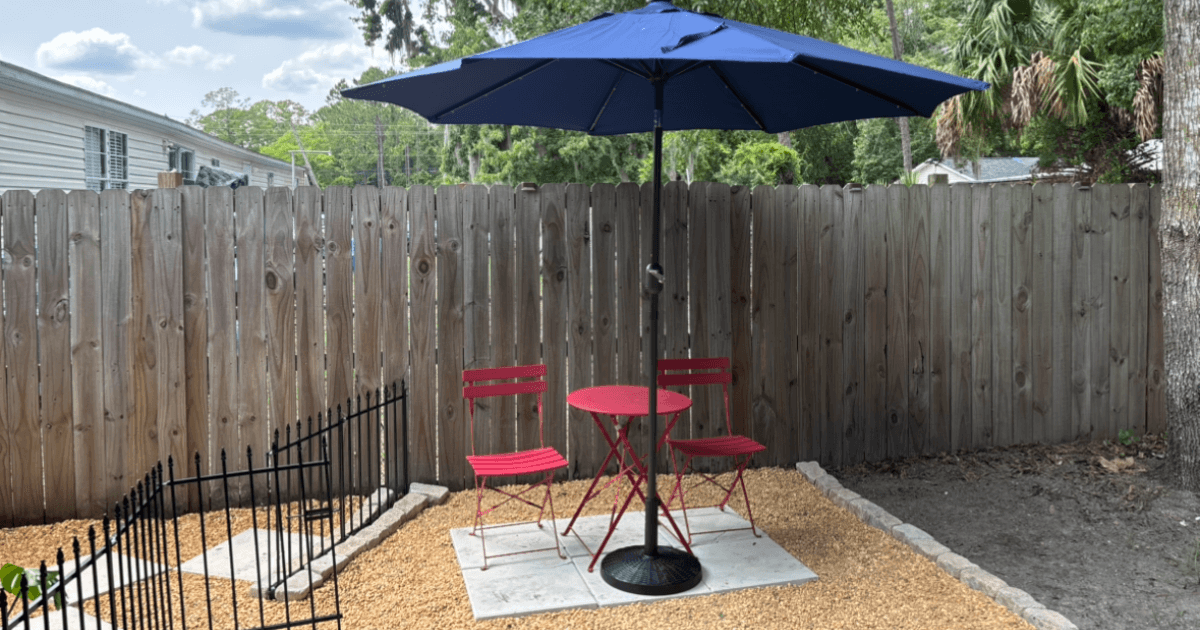
DIY Pea Pebble Patio with Rock Glue — My Full How-To Guide
A DIY Guide from My Backyard Project
If you’ve ever used pea pebbles or loose gravel in your yard, you know the challenge — they look great… until they shift, scatter, or turn into a maintenance headache, especially if you have pets running around in the backyard.
That’s why I recently took on a project to lock my pea pebbles in place using a clear rock binding agent — often called “rock glue.” The result? A firm, walkable surface that still keeps the natural look of stone. I wanted to ensure I went with something pet friendly, non-toxic that dries fast and lasts long. The product we chose for the glue was Petramax Lockscape Rock Glue Max — more to come on this below!
In this guide, I’ll show you exactly how I did it — and you can watch a quick video of the process below.
Materials You’ll Need
You can find most of these at your local hardware store or online — I’ve linked a few here if you want to check them out.
- Clean pea pebbles (washed and fully dry works best)
- Rock glue / binder
Ex: Vuba Easihold, Gator Rock Bond, Technisoil Pathway Binder - Large bucket or mixing container
- Stir stick or drill with mixing attachment
- Trowel or rake
- Gloves and mask
- Optional: weed barrier fabric if installing over soil or sand base — you can use heavy duty garbage bags — this usually does the trick
Step 1 — Prepare Your Surface
Good prep = great results. Don’t skip this step — your surface needs to be ready to accept the binder for the best hold.
Start with a clean, level base:
- If working on soil, consider laying a weed barrier first.
- If applying over concrete, sweep and wash the surface to remove debris.
- Make sure the area is dry — rock glue does not like moisture!
Step 2 — Mix the Binder with Pea Pebbles
This part feels a little like baking — getting the ratio of glue to pebbles just right makes all the difference.
NOTE: You can also go the route of spraying on surface and ‘then’ mixing
- In a large container, pour in your pea pebbles.
- Add the binder according to your product’s directions.
- Stir thoroughly — you want all the stones coated, but not dripping with glue.
Pro tip: Work in small batches. This gives you more control and ensures good coverage.
Step 3 — Spread and Shape the Coated Pebbles
Here’s where the project starts to take shape. Take your time to spread evenly — it really impacts how the final surface looks and feels.
- Pour the coated pebbles onto your surface.
- Use a trowel, rake, or gloved hands to spread them to your desired thickness (typically 1″–2″ deep works well).
- Smooth the surface and define the edges.
Step 4 — Let It Cure
Patience pays off here. The glue needs time to fully bond and harden — don’t rush it!”
- Allow your surface to cure fully — this usually takes 24–72 hours depending on your binder.
- Avoid rain and foot traffic during this time. You might have to start over if a shower comes through (learned from experience)
Step 5 — Enjoy Your New Surface!
Once cured, your surface is ready to show off — and stay solid through the seasons. However, depending on the level of traffic the surface receives, you might have to re-apply the glue.
Once cured, your pea pebble surface will:
✅ Stay firm and stable
✅ Resist shifting and scattering
✅ Keep its natural texture and look
✅ Require very little maintenance
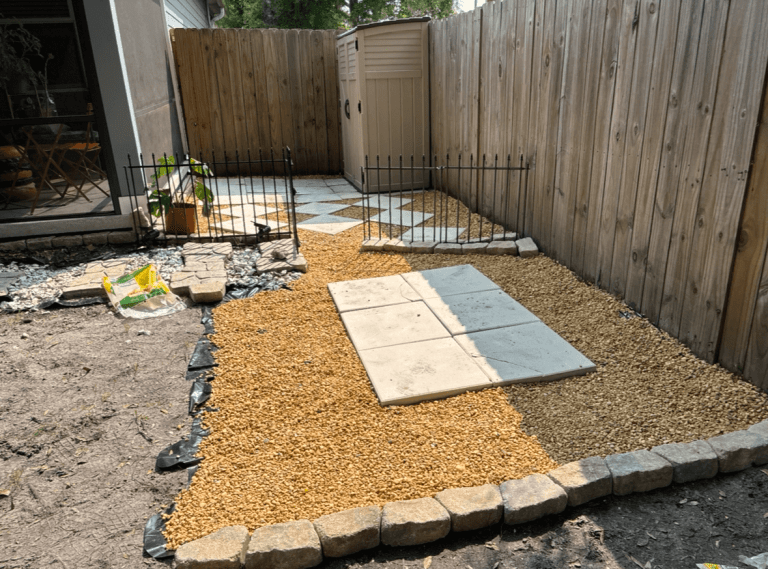
Before and After
Check out the final product after a days work — every cost under $200 for a solid 4-5 hours of labor

Lessons Learned from My Project
Here are a few takeaways from my experience:
- Dry pebbles are critical — moisture can reduce bonding.
- Work in batches so you can focus on even coating. Don’t wear yourself out.
- The finished surface is surprisingly solid — great for garden paths and patio zones.
- Maintenance is simple — occasional sweeping or using a blower is all it needs.
Frequently Asked Questions
Final Thoughts
If you want to create a natural-looking, low-maintenance surface for your outdoor space — this technique is absolutely worth trying.
It’s a satisfying DIY project that transforms loose pea gravel into a usable, durable surface.
And the best part? You can still showcase the beauty of stone, with a fraction of the maintenance.